
How to Remove a Background in GIMP or Photoshop (and Export a Transparent PNG)
- Which tool should you use?
- How to remove a background in GIMP
- How to remove a background in Photoshop
- How to check a transparent PNG
- Remove a background online with GoEnhance AI
- Common problems and fixes
- Frequently asked questions
- Final check before using the image
To remove a background in GIMP or Photoshop, select the subject, separate it from the background, inspect the edge, and export the result as a PNG with transparency. GIMP gives you more manual control over the selection; Photoshop’s Remove Background Quick Action is faster to start and leaves a mask you can refine. For a one-click cutout, GoEnhance AI’s Background Remover is another option.
The part that usually takes care is not the first click. Hair, fur, glass, pale clothing, and soft shadows can blend into the background. I check a cutout against both a light and a dark color before I use it in a design. That quick review catches white halos and missing details that are easy to miss over a checkerboard.
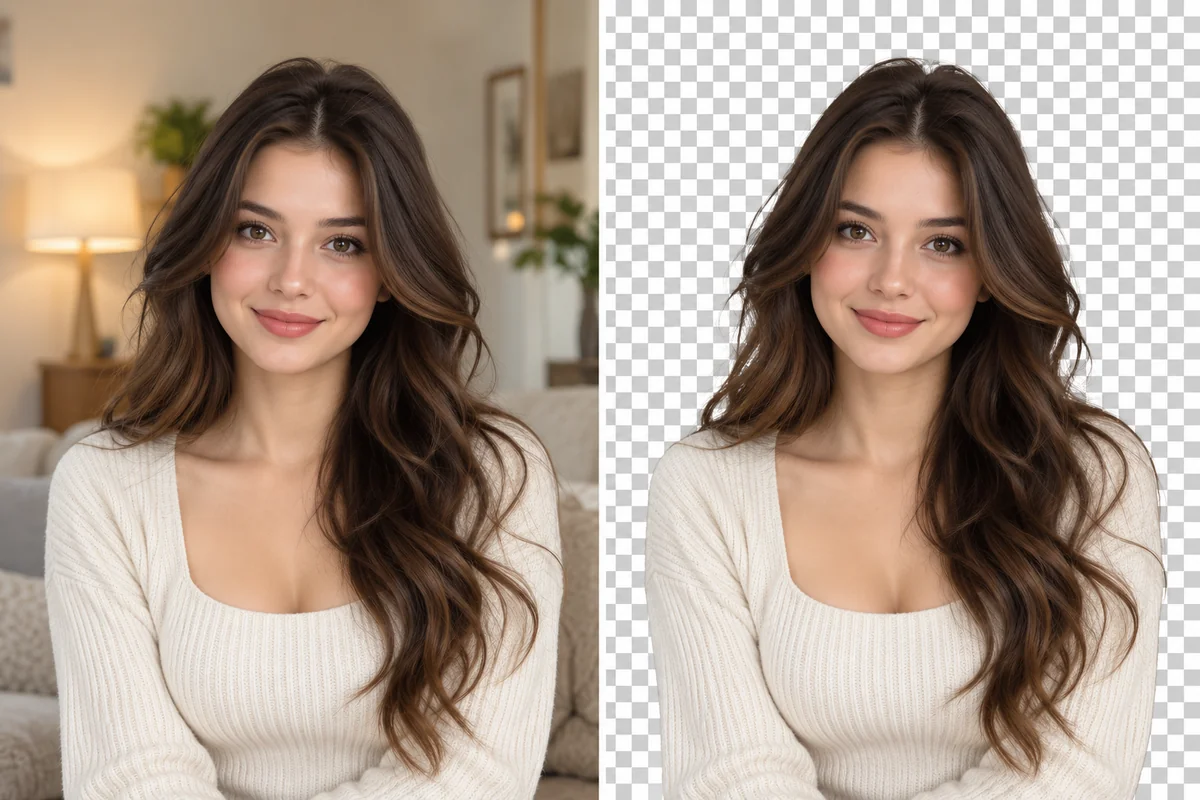
A GoEnhance portrait example. The hairline is the first place I inspect when comparing an automated cutout with its source.
Which tool should you use?
| Workflow | A good fit when | What to review |
|---|---|---|
| GIMP | You want a free desktop editor and direct control over the selection | The foreground boundary, alpha channel, and transparent gaps |
| Photoshop | You want to start with an automatic selection and refine it with a mask | Hair, edges, and any areas the automatic action missed |
| GoEnhance AI | You want to upload one image and get a cutout without tracing | Whether the chosen subject, edge detail, and background output are right |
The tools do different jobs. A quick automatic selection can save time on a clean portrait, while manual selection is useful when the subject has complex edges or the result needs careful correction. None of them can reliably infer every ambiguous detail in a low-contrast photo, so keep the original and review the result.
How to remove a background in GIMP
GIMP’s Foreground Select tool can help isolate a subject, and the layer needs an alpha channel before clearing pixels can create transparency. The GIMP manual’s background-separation tutorial describes the selection and inversion workflow; its transparency guide explains why PNG and an alpha channel matter.
- Open the image and keep an editable copy. Save a working version as an XCF file before removing anything. If the source layer is named “Background” or is locked, make it editable so you can work with transparency.
- Select the subject. Choose Foreground Select and draw a rough outline around the person or object. Mark a few strokes inside the subject so GIMP can distinguish foreground from background, then preview the selection. Refine the boundary where hair, fur, or a thin object meets the scene.
- Invert the selection. Once the subject is selected, invert the selection so the background is active. Check the marching-ants outline before clearing; a selection that includes part of the subject will remove it too.
- Add an alpha channel if needed. Use the layer’s Transparency menu to add an alpha channel. Without alpha, clearing a selection can fill it with a background color instead of leaving transparent pixels.
- Clear and inspect. Clear the selected background. The checkerboard should appear where the image is transparent. Zoom in around the hairline, sleeves, gaps between arms and body, and any object openings. Undo and adjust the selection if the edge looks jagged or a detail disappeared.
- Export a PNG. Export the finished cutout as PNG, then open it over a colored layer or in another app to confirm that the transparent area is real. Keep the XCF as your editable master.
For a softer edge, it is often easier to refine a selection or mask in small passes than to erase a large area at once. Keep a backup layer hidden beneath the working layer so you can recover pixels if you cut too far into the subject.
How to remove a background in Photoshop
Photoshop’s current desktop help places Remove Background under Quick Actions in the Discover panel. It isolates the subject and creates a transparent result or a masked layer, depending on the workflow. Adobe’s Remove Background guide shows the current steps.
- Open the image and select its layer. If the subject layer is locked, unlock it so Photoshop can make an editable result.
- Run Remove Background. Open the Discover panel, go to Browse → Quick Actions, and choose Remove Background. Menu names can shift between versions, so use Photoshop’s search or Help panel if the route looks different.
- Keep the mask editable. Check the Layers panel for a layer mask. A mask lets you hide or reveal parts of the image without permanently deleting pixels. If the automatic edge needs work, use the mask brush or Select and Mask to refine it.
- Check the subject against a temporary fill. Add a bright color behind the cutout, then try a dark one. Look for leftover background fringes, missing flyaway hair, clipped fingers, or shadows that should have stayed.
- Export the transparent image as PNG. Save the layered file as PSD for later edits, then export a PNG for use in a website, slide, or design.
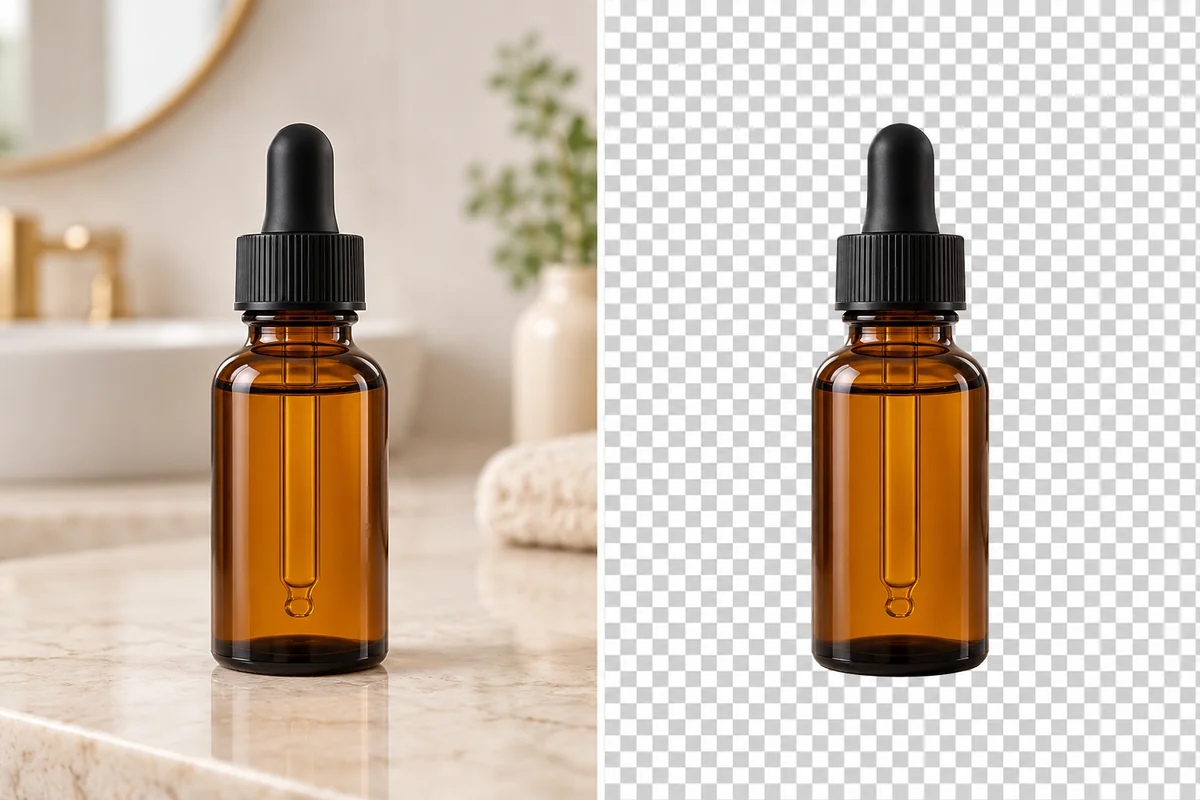
A product cutout example from GoEnhance. Reflective surfaces are worth checking because a remover may treat a reflection as part of the background.
How to check a transparent PNG
The checkerboard shown in an editor is only a preview. To confirm that transparency survived export, place the PNG over a saturated color or a photograph. If a white rectangle moves with the image, the background was flattened. If the color or photo shows through around the subject, the alpha channel is intact.
PNG supports alpha transparency. JPG does not preserve transparent pixels, so it is the wrong export format for a cutout. If a platform only accepts JPG, place the PNG over the intended background first, then export that flattened composition as a separate JPG.
I also review a cutout at two sizes: zoomed in for defects and at its expected display size for the overall effect. A tiny fringe may be invisible in a social thumbnail but distracting on a large product card. For people and pets, inspect hair and fur; for products, look at handles, glass, and shadows; for logos, check white shapes and enclosed spaces in letters.
Remove a background online with GoEnhance AI
When I want a quick first pass without opening a desktop editor, I can use the browser-based GoEnhance AI Background Remover. Upload one image, choose the matching image type and background output, generate the cutout, and inspect the result before downloading. The public product page lists Photo and Anime / illustration modes, plus transparent, white, or custom-color background outputs.
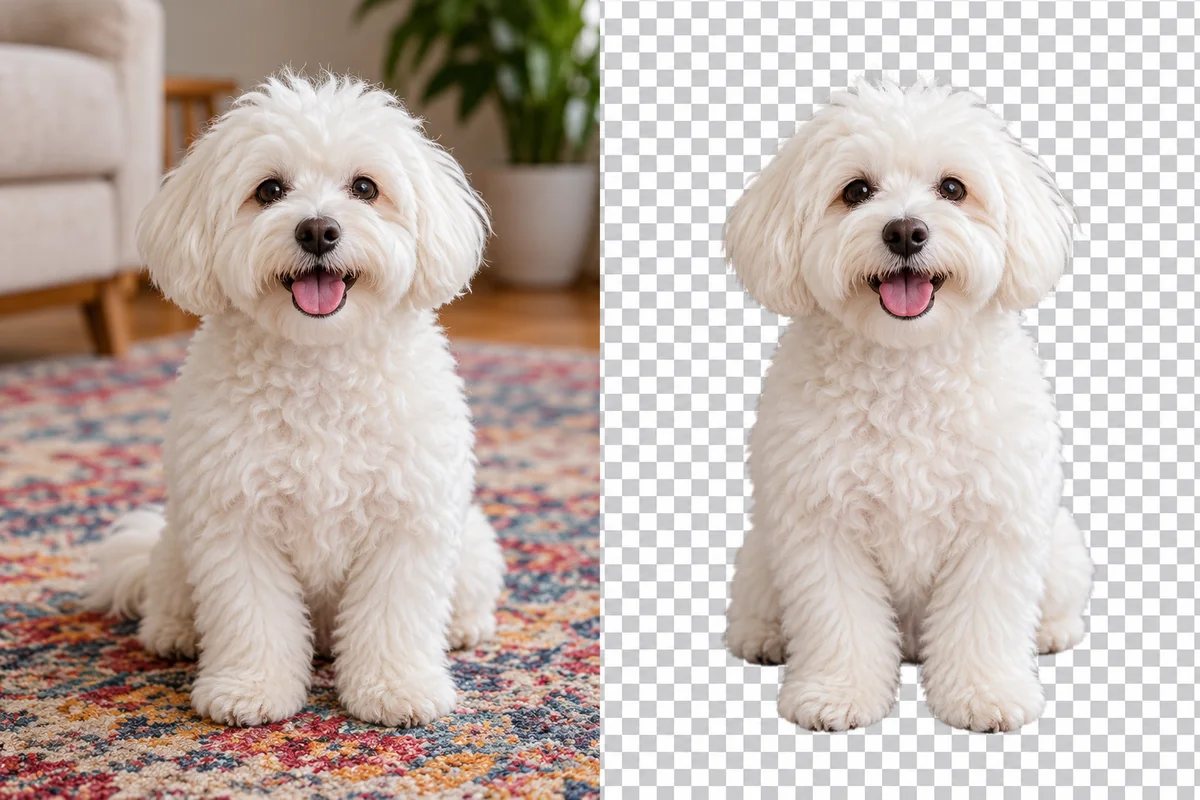
A GoEnhance pet example. Fur can look soft in a preview but lose fine whiskers or stray hairs, so compare it with the original before publishing.
This workflow is convenient for a single image, but I still treat the output as a draft. If a logo loses white details, if glass becomes unnaturally empty, or if the outline around hair looks clipped, make a correction in GIMP or Photoshop. An automated tool saves the initial selection work; it does not remove the need to decide which details belong in the final image.
Common problems and fixes
The background turns white instead of transparent
Check that the layer has an alpha channel before clearing pixels, and verify that the PNG export retained transparency. A JPG export will flatten the cutout.
Hair has a pale halo
Inspect the edge over a dark color. Refine the mask or selection rather than applying a heavy blur; too much feathering can make hair look smudged.
Parts of the subject disappear
Undo and restore those areas with the selection or layer mask. This often happens where clothing, a pet’s coat, or a product is close in color to the original background.
A shadow disappears with the background
Decide whether the shadow belongs in the finished composition. If it does, preserve it with a mask or add a separate, controlled shadow after the cutout.
Frequently asked questions
Can GIMP export a transparent PNG?
Yes. Add an alpha channel to the layer, clear the background, and export as PNG. Confirm transparency by placing the result over a colored layer.
Should I erase pixels or use a layer mask?
A mask is easier to revise because it hides pixels without deleting them. In GIMP, save the XCF working file; in Photoshop, retain the PSD and its mask.
Can I save transparency as a JPG?
No. JPG does not preserve alpha transparency. Keep a PNG for the cutout and create a separate JPG only after placing the subject on a solid background.
Which is better for hair: GIMP or Photoshop?
There is no universal winner. The source photo’s focus, contrast, and background matter as much as the editor. Compare the edge at normal size and zoomed in, then use the workflow that gives you the cleanest editable mask.
What should I do if an online remover misses part of the subject?
Try a clearer source image or make a manual correction in a desktop editor. Check small details such as hair, fingers, transparent objects, and shadows before you use the cutout.
Final check before using the image
Keep the original, preserve an editable project file, and export a PNG when you need transparency. Then inspect the result over at least two backgrounds. That small review catches most of the issues that make an otherwise useful cutout look pasted on.