
Prompt
Copy and customize
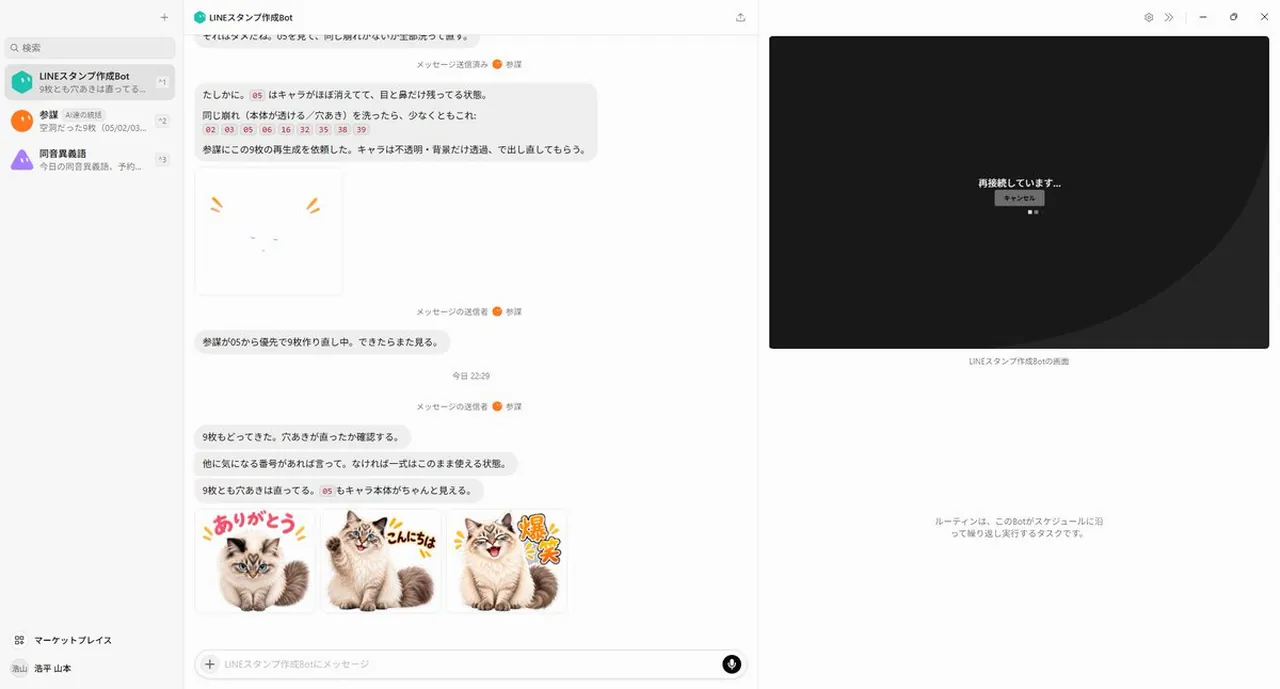
Using the provided reference image as the base screenshot, update the chat UI to show a later point in the same LINE sticker creation workflow rather than the initial setup. Keep the overall desktop layout, left sidebar, chat app framing, and right-side remote-screen panel consistent, but replace the chat contents with progress/status messages about regenerating stickers and checking transparency. Add exactly 1 failed/unfinished sticker preview near the upper-middle of the chat: a mostly blank white square with only tiny cat facial marks and two orange emphasis strokes, implying the character disappeared. Add exactly 3 completed sticker thumbnails in a row near the bottom of the chat, all based on the same fluffy cat from the reference materials, with transparent/white sticker-style backgrounds and colorful Japanese LINE-sticker lettering: 1) ありがとう with the cat sitting cutely, 2) こんにちは with the cat smiling and waving/posing, 3) 爆笑 with the cat laughing energetically. Use a playful sticker aesthetic with thick outlined text, small comic accent marks, and clean cutout edges. On the right-side remote panel, replace the file-browser view with a dark reconnection screen showing centered Japanese text 再接続しています... and a small cancel button beneath it. Preserve the sense that this is a live AI-agent chat screenshot documenting automatic sticker generation, not a standalone sticker sheet.
Best for
Tips
Keep the main subject focused so Using the provided reference image as the remains recognizable after style or lighting changes.
Adjust camera angle and aspect ratio before generation when the composition needs a specific platform format.