GoEnhance AI Review: Best Workspace for Video and Images
- GoEnhance AI Review: Who Is This Really For?
- How GoEnhance Is Organised (So You Don’t Get Lost)
- The Video Toolbox: From Idea to Clip
- The Image Toolbox: Draft, Swap, Clean Up
- Pricing, Tokens, and What They Actually Mean
- What GoEnhance Does Well (and Where It Still Struggles)
- So… Is GoEnhance Worth Using?
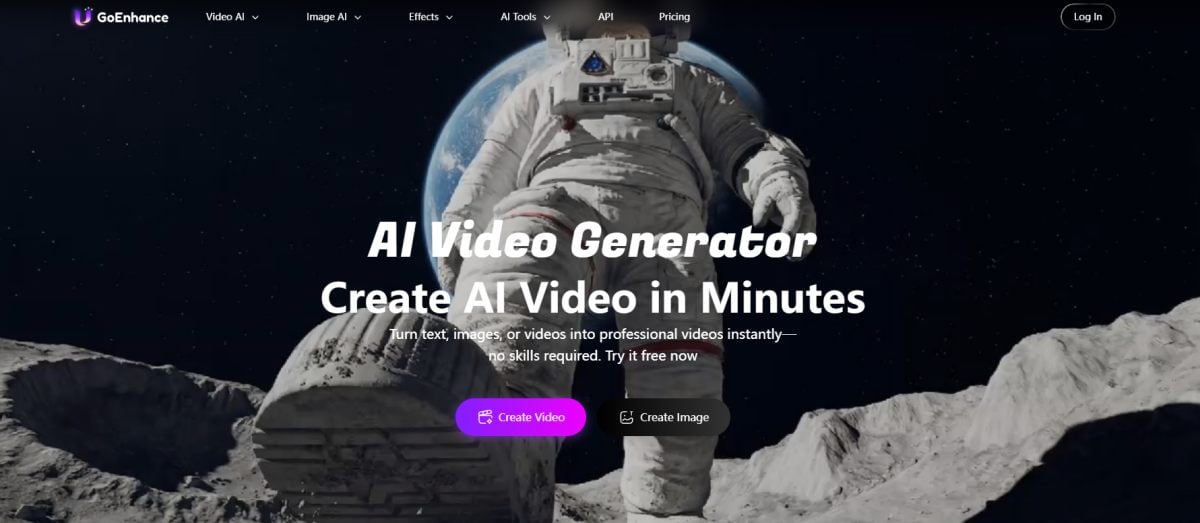
If I had to sum up this GoEnhance AI review in one line, I’d say: it’s a single browser workspace where you can plan, generate, and polish short videos and images without keeping ten different tabs open (GoEnhance AI).
You get a menu of tools for video, another for images, a stack of models hiding in the background, and a lot of pre-built effects. It feels less like a flashy “demo site” and more like a control panel you can live in every day.
GoEnhance AI Review: Who Is This Really For?
The short conclusion here is that GoEnhance AI makes the most sense for people who publish visual content regularly, not for someone who edits a photo twice a year.
If any of these sound familiar, you’re very close to the ideal user:
- You’re posting Reels, Shorts, or TikToks on a steady schedule.
- You need quick visuals for launch pages, newsletters, ad tests, or client decks.
- You’re tired of remembering which tool does talking avatars, which does upscaling, and which does face swap.
If you only want a one-off effect for a personal project, a tiny single-feature site is probably cheaper. If you’re building content every week, having one “home base” starts to pay off.
How GoEnhance Is Organised (So You Don’t Get Lost)
The structure is surprisingly logical: the site is split by what you want to do instead of by brand names or model codenames.
- Video AI – tools that spit out moving pictures.
- Image AI – tools that end with a still frame.
- Video Models / Image Models – pages for people who care about specific underlying models.
- Effects – pre-built looks for fast, trend-style content.
- AI Tools – a long list for anyone who likes to scan everything at once.
You don’t have to dig into the model pages to get work done. You can simply click a tool, upload your material (or write a prompt), and let the system figure out which model to call. Power users can go deeper, but beginners don’t have to.
The Video Toolbox: From Idea to Clip
The video side is where most people will spend their time, so let’s start there. The headline verdict: GoEnhance is very good at short and mid-length clips, especially for social, promos, explainers, and edits based on existing footage.
1. Starting From Scratch: AI Video Generator
 When you have a story in your head but no footage yet, you start with the AI Video Generator.
The basic flow is:
- Write a short description of the scene, mood, and pacing.
- Drop in reference images or small clips if you have them.
- Let the tool assemble scenes, motion, and a rough soundtrack.
You’re not going to get a Cannes-ready film in one click, but you do get an actual playable video that you can show to a client or team and say, “Is this roughly what we meant?” That’s a huge jump compared to staring at a blank Premiere timeline.
Most people end up treating it as:
- A sketch tool for ideas.
- A way to build quick intros and outros.
- A rapid way to prototype campaign concepts before committing to a full shoot.
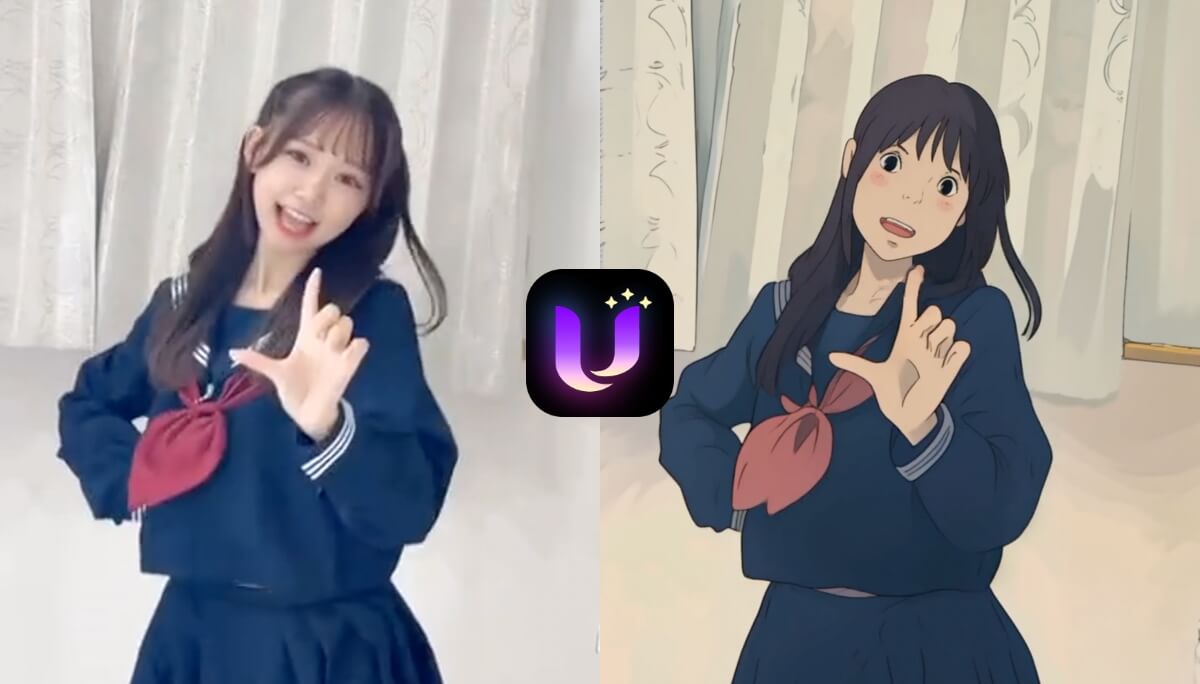
2. Restyling Footage: Video to Video
If you already have decent footage but you’re bored of how it looks, Video to Video is the next stop.
What it does in practice:
- You upload your clip.
- Pick a style (anime-ish, painterly, clay, toy-like, etc.).
- The system redraws the frames in that look while keeping motion and composition.
This is perfect for:
- Giving the same music video three totally different visuals.
- Turning talking-head content into something more stylised.
- Recycling old clips into a new campaign without grabbing a camera again.
The quality still depends on the complexity of your shot. Simple motion and clear shapes usually come out best; extremely chaotic scenes can feel a bit messy, which is true for most current video models.
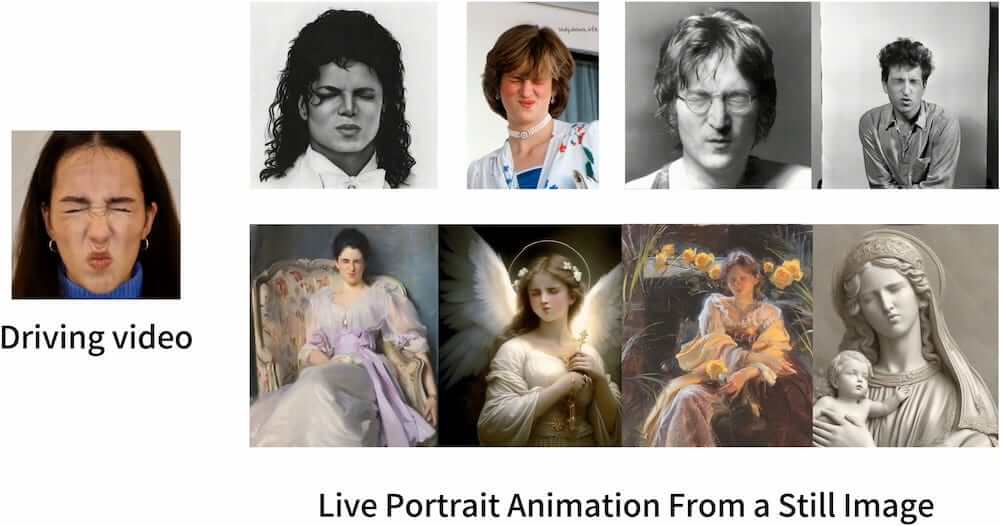
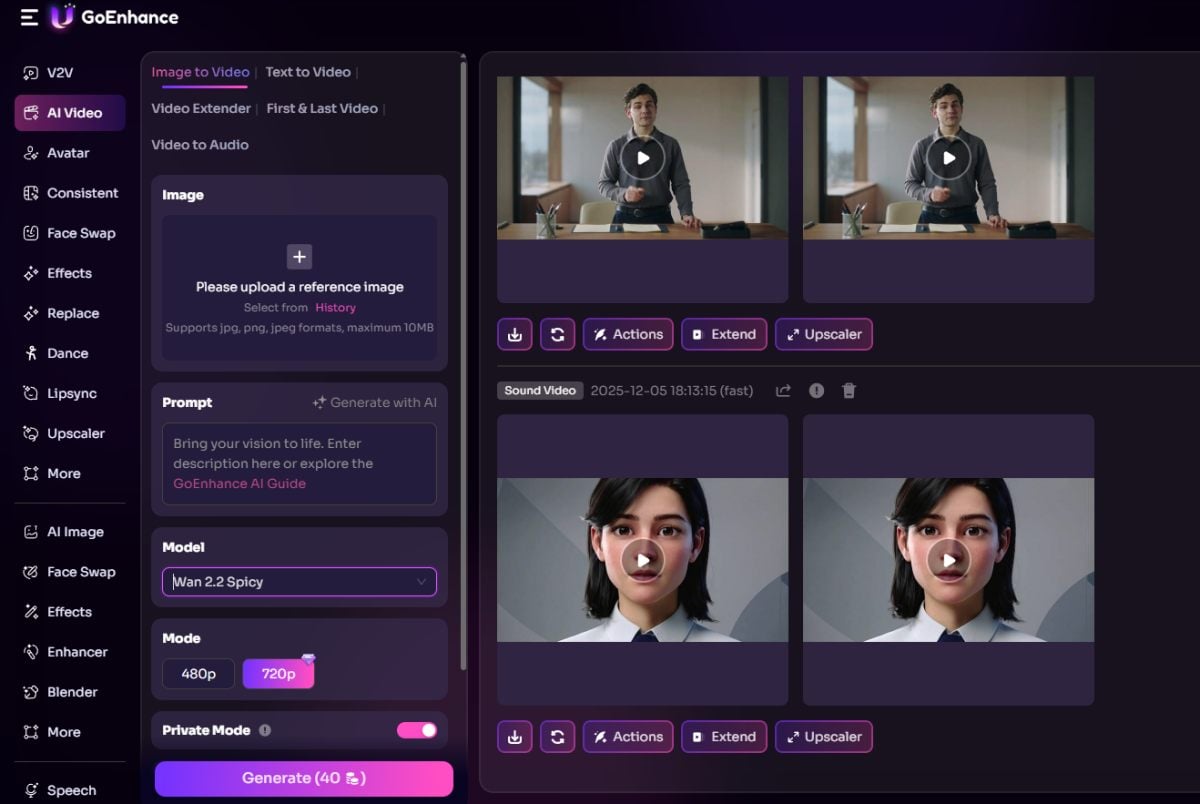
3. Breathing Life Into Stills: Image to Video
Not every team has a huge video library. Sometimes all you have is a folder full of product shots or portraits. Image to Video exists exactly for that situation.
Typical uses:
- Turning static product photos into slow pans and zooms.
- Giving portraits a subtle camera move for hooks and intros.
- Making short mood pieces from still artwork or concept boards.
It’s a clever way to turn “we only have photos” into “we still have something moving to post this week.”
The Image Toolbox: Draft, Swap, Clean Up
On the still-image side, the conclusion is simple: GoEnhance is built for speed and variety rather than microscopic pixel tweaks. It fits marketing and social work much more than gallery-level retouching.
1. Drafting Visual Ideas: AI Image Generator
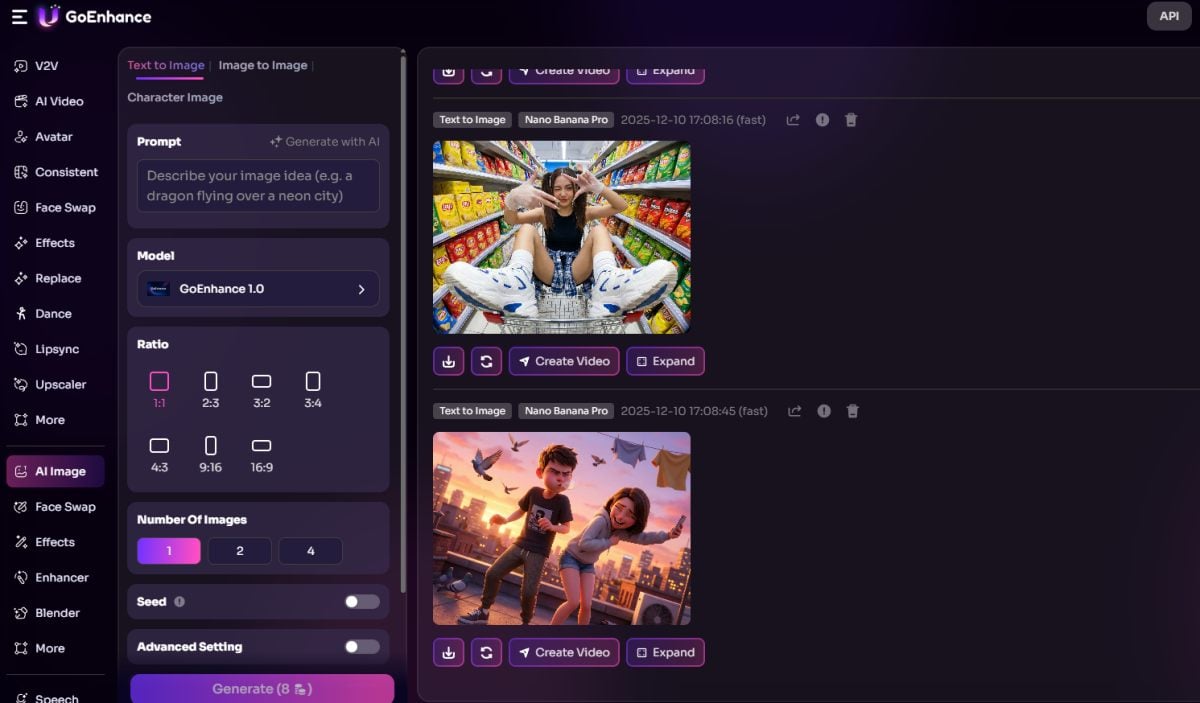 The AI Image Generator is the starting point when you need a visual concept on the table.
You type what you want, optionally attach a reference, and let it return several options. Common uses:
- Thumbnail variations for videos or blog posts.
- Ad creatives for split tests.
- Mood boards and concept sketches for pitch decks.
Because you can send these images straight into the video tools or into an external editor, the generator becomes less of a toy and more of a real part of the pipeline.
2. Playing With Identity: Face Swap
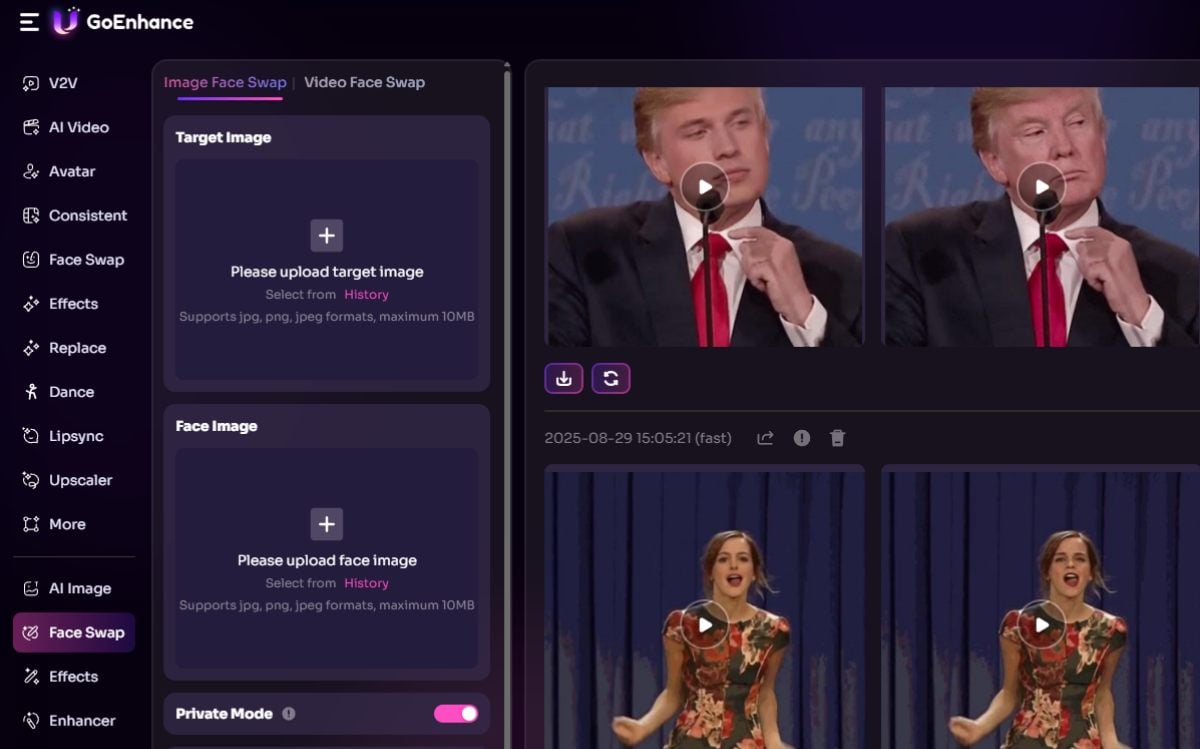
Face tools can feel gimmicky in the wrong hands, but Face Swap is surprisingly practical if you treat it as part of a real workflow.
Typical, non-spammy uses:
- Putting the same “brand character” into multiple scenes and outfits.
- Creating personalised content where a presenter appears across different scenarios.
- Making light-hearted memes and internal jokes without spending hours on manual masking.
The interface splits photo and video flows so you don’t get lost. You choose your target, provide the face you want to use, preview, and tweak.
3. Saving Almost-Good Images: Image Enhancer
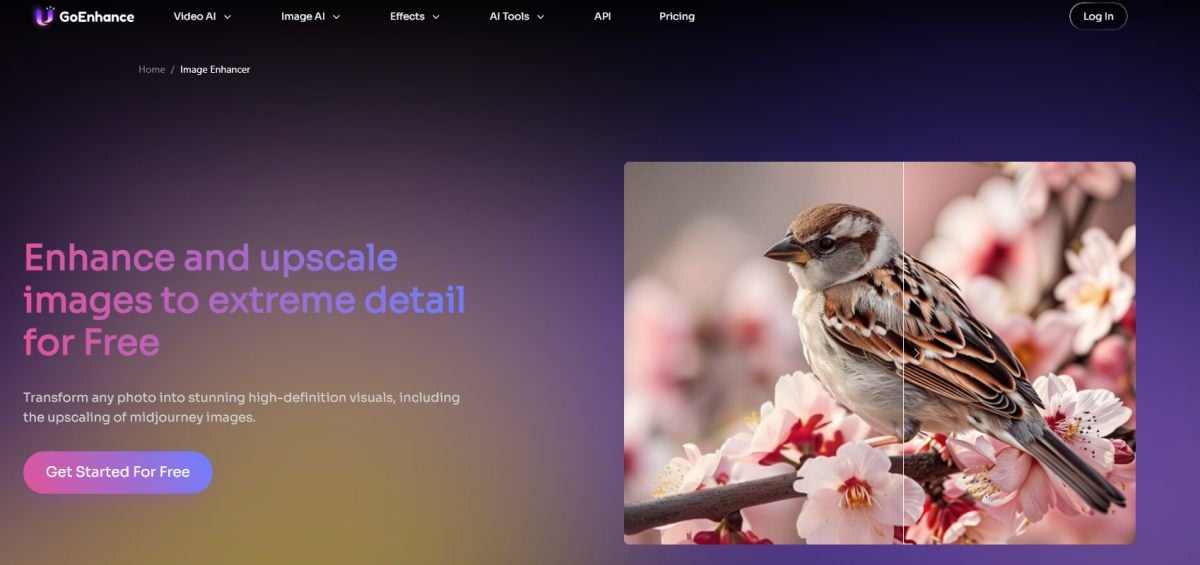
Every team has low-res assets that are “fine” until you zoom in. Image Enhancer is the quiet fix for that problem.
You run a picture through it when:
- The resolution is too small for the layout you want.
- Compression has crushed details.
- A screenshot or old photo needs to look more professional.
The result isn’t magic, but it often turns “we can’t use this” into “this is totally acceptable for web and social,” which is all many projects need.
Pricing, Tokens, and What They Actually Mean
Pricing can look confusing at first because it’s credit-based. Once you change how you think about it, it becomes manageable.
The essentials:
- There’s a free tier so you can try the main workflows without paying.
- Higher tiers give you more monthly credits, higher resolutions, and shorter waits in the queue.
- Video costs more credits than images, especially if you crank duration and quality.
One way to think about this is:
| Type of user | Typical use pattern | Sensible approach to plans |
|---|---|---|
| Curious experimenter | Tries a few clips and images on weekends | Free or entry-level plan |
| Solo creator | Posts short videos and visuals each week | Mid-range plan with enough headroom |
| Small studio / agency | Handles several clients or channels | Higher plan, budgeted as a production expense |
| Heavy production shop | Generates clips almost daily | Top tier or customised arrangement |
Once you tie credits to concrete things (“this campaign needs 20 clips and 40 images”), the numbers stop feeling abstract and start looking like any other line item in your content budget.
What GoEnhance Does Well (and Where It Still Struggles)
No tool is perfect, so it’s better to be blunt.
Where GoEnhance works really well:
-
Everything lives in one account
You can move from writing a prompt, to generating a still, to animating that still, to enhancing a thumbnail, all without switching sites. -
Model complexity is hidden by design
Non-technical users never have to think about version numbers or architectures; they just pick a tool and go. -
The learning curve is gentle
The buttons say what they do. You don’t need a long tutorial series to understand where to click.
Where it still has limitations:
-
Token burn is real
Long or high-quality videos eat credits quickly. For people who like to iterate 20 times on every idea, this matters. -
Outputs aren’t always perfect
Very busy shots can still show jitter, odd transitions, or small visual glitches. That’s a common issue across current video models, not unique to GoEnhance, but you should expect to reject some generations. -
It doesn’t replace a pro editor
Final timing, audio mixing, colour grading, and version control for big projects still belong in Premiere, Final Cut, DaVinci, or similar tools.
So… Is GoEnhance Worth Using?
Bringing it all together, the honest verdict of this GoEnhance AI review is that the tool shines when you treat it as your central creative workbench, not as a one-button magic trick.
If your normal week already includes things like:
- Drafting short scripts or ideas for videos,
- Trying different looks on existing clips,
- Turning product photos into motion,
- Spinning up new thumbnails, concept visuals, and memes,
- Cleaning old assets so they still look sharp in 2025,
then putting all of that under one roof is extremely convenient. You log into one place, you know where everything lives, and you stop wasting energy remembering which site did what.
If your needs are tiny—maybe one holiday card and the occasional LinkedIn banner—this is clearly more platform than you require. But for creators, social teams, and small studios who live in a constant “we need something new to post” mindset, GoEnhance is absolutely worth a serious trial run.