How to Animate a Photo with Kling 2.5? The Ultimate Guide

- 1) Why Kling 2.5 fits photo animation
- 2) A three-step pipeline that consistently works
- 3) Prompt intent: lead with time and camera
- 4) Quality, safety, and disclosure
- 5) Sequencing multiple shots into a micro-story
- 6) Where photo animation excels—and where it doesn’t
- 7) A repeatable 15-minute template
- 8) Final take
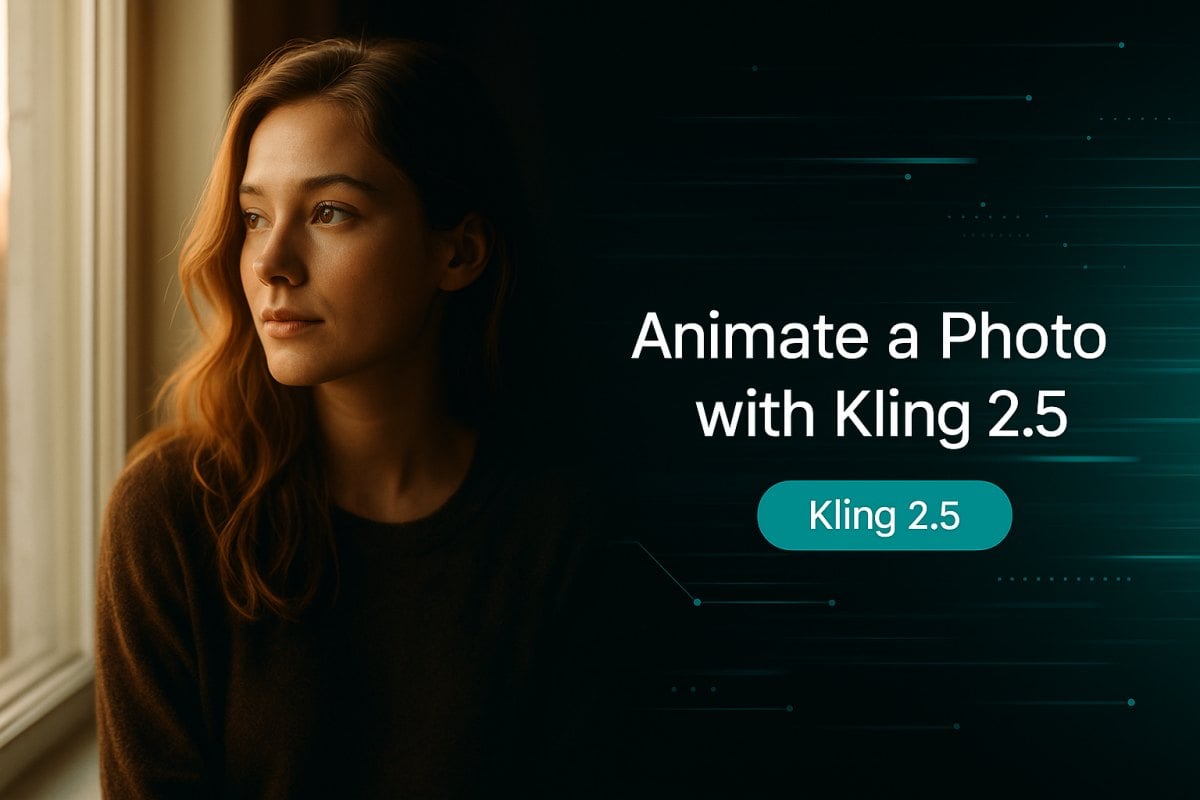
If you want believable motion from a single image, Kling 2.5 excels at subtle, depth-aware animation when you keep movements small and time explicit. This article offers a practical workflow, prompt structures, and QA safeguards so you can deliver stable, publish-ready results without heavy post work. For an overview of the model’s capabilities, see Kling 2.5.
1) Why Kling 2.5 fits photo animation
Kling 2.5 tends to preserve geometry and lighting continuity better than generic filters, making it suitable for portraits, products, and quiet narrative beats. It interprets spatial relationships—foreground, midground, and background—and handles micro-motion such as hair fibers or fabric drift without aggressive warping. In testing scenarios, it also maintains facial landmarks (eye corners, nasolabial folds) as motion amplitude increases slightly, provided you limit duration and avoid compound camera moves.
Key implications
- Expect fewer artifacts around eyes, mouth, and thin edges.
- Keep motion single-axis (e.g., a gentle push-in) to avoid “float.”
- Define how the shot starts and ends to stabilize temporal rhythm.
2) A three-step pipeline that consistently works
Splitting the process into pre-move → model pass → finishing gives the most predictable outcomes with the least cleanup.
- Pre-move (wake the still): Use animate a picture to add restrained motion—blink cadence, micro head tilt (≤3°), a slow push-in, or slight parallax—so you start the model pass with a stable baseline.
- Model pass (add realism): Run Kling 2.5 with a structured prompt that defines camera grammar, timing, light, and micro-action; small amplitudes produce cleaner edges and more believable depth.
- Finishing (deliverable quality): Trim to beat, upscale to 4K if needed, apply frame interpolation for smoothness, and composite logos/captions as UI layers for razor-sharp text.
Responsibility table
| Stage | Primary goal | Common risk | What to lock |
|---|---|---|---|
| Pre-move | Stable, tasteful base motion | Facial/Logo deformation | Single-axis, low amplitude |
| Model | Depth-aware realism | Floaty background, jitter | Duration 8–12 s, easing |
| Finish | Clean, platform-ready export | Soft edges, compression | 4K upscale, logo overlay |
3) Prompt intent: lead with time and camera
Prompts that prioritize time structure and camera behavior outperform adjective-heavy descriptions.
Pyramid checklist (top → down)
- Shot outcome: “8–10 s, 3:2, begin still → breathe → soft hold.”
- Camera grammar: “50 mm feel, gentle push-in, single-axis, ease in/out.”
- Light & depth: “Golden back-rim; practical warm lights; shallow DoF; mild haze.”
- Micro-action: “Natural blink; ≤3° head tilt; subtle hair/cloth drift.”
- Detail cues: “Cup steam; linen texture; clean logo edges (handled in finish).”
Example (portrait, 3:2, 8–10 s)
“Medium close-up by a café window; warm late-afternoon rim; gentle 50 mm push-in; natural blink and ≤3° head tilt; hair fibers move slightly; steam drifting; shallow DoF; begin still → breathe → soft hold.”
Example (product, 3:2, 8–12 s)
“Matte black earbuds on walnut desk; skylight reflections; slow right-to-left parallax; shallow DoF; brief rack focus to logo; end with logo sharp; motion easing out.”
4) Quality, safety, and disclosure
Lock amplitude, duration, and logo handling before batch production; these three factors most affect realism and brand clarity.
- Amplitude: Keep head turns ≤3°; avoid compound moves (push and lateral drift).
- Duration: 8–12 s reduces drift and facial wobble while leaving room for a beat.
- Logos & text: Composite as overlay layers in finishing to protect edge sharpness.
- Disclosure & provenance: Many platforms require labeling AI-assisted media. See SynthID overview (DeepMind) and YouTube guidance (policy). For IP/licensing basics, review WIPO’s primers (WIPO).
Quick troubleshooting
| Symptom | Likely cause | Fast fix |
|---|---|---|
| Eye/mouth wobble | Motion too large; clip too long | Shorten to 8–10 s; reduce amplitude |
| Floaty parallax | Weak depth cues; lateral drift | Add mild rack focus; constrain to one axis |
| Soft logo edges | Scaling/compression during move | Overlay logo in finish; upscale then downscale |
| Texture flicker | Over-sharpened source/grain | Ease sharpening; upscale before interpolation |
5) Sequencing multiple shots into a micro-story
Match aspect, duration, and color before adding text or music to keep a cohesive “lens feel.” If you’re stitching multiple animated stills into a single cut, the editor inside the main AI video generator is convenient for pacing, captions, and export profiles.
Three-beat planning grid
| Beat | Visual goal | Motion notes | On-screen text |
|---|---|---|---|
| 1. Establish | Subject in environment | 5–10% push-in, calm | “Meet Ava” |
| 2. Reveal | Gesture or product detail | Parallax + brief rack focus | “New in matte black” |
| 3. Hold | Confident still | Ease-out, minimal drift | Logo + CTA |
Editorial specs (recommended)
- Aspect: 3:2 (landscape source) or 9:16 (vertical deliverables)
- Duration: 20–30 s total for three beats
- Export: 4K master if budget allows, then platform-specific downscales
6) Where photo animation excels—and where it doesn’t
Photo animation outperforms heavier pipelines when the goal is subtle, premium motion, not acrobatics.
Best-fit scenarios
- Portrait intros and team bios
- Product hero beats and launch sizzles
- Brand idents that prefer elegance over spectacle
- Atmospheric B-roll from single frames
Use caution for
- Large, fast body motion
- Dense crowd scenes and complex occlusion
- Rapid typography moves inside the same shot
7) A repeatable 15-minute template
A tight template reduces quality variance and makes results comparable across iterations.
- Prep (2–3 min): Crop to 3:2; balance exposure; remove distractions.
- Pre-move (1–2 min): Generate a tasteful baseline with animate a picture.
- Model pass (5–7 min): Apply the structured portrait or product prompt; cap duration at 8–10 s.
- Finish (3–5 min): 4K upscale → frame interpolation → trim to beat → overlay logo/caption → export.
8) Final take
Restraint wins—small moves, clear temporal structure, and clean finishing make single-image videos feel filmed rather than fabricated. By keeping prompts time- and camera-led, using Kling 2.5 for depth-aware realism, and standardizing finishing steps, you can turn individual photos into cohesive, platform-ready clips with minimal fuss.


